To put a ratchet strap back together, thread the webbing up through the spool slot, pull the slack through, and close the handle. A strap that comes apart is normal. Anyone can fix it in a few minutes with no special tools. This guide walks through the open position, threading, tightening, releasing, and common mistakes. Each step uses plain language and simple hand movements. Readers learn how the handle, spool, and release lever work together. You also can learn how to spot a twist before it causes trouble. A little practice builds real confidence. Soon, rebuilding a ratchet strap becomes a quick, routine task.
Key Takeaways
- Open the ratchet fully before threading to avoid jams and make the process go smoothly.
- Thread the webbing up through the center slot and over the top, and keep it flat so it won’t slip.
- Turn the handle until the strap is tight, but do not make it too tight or you may damage the cargo or hardware.
- Slowly lift the release lever to loosen the strap, and keep your hands away from moving parts.
- Practice threading and ratcheting to gain confidence and secure safe loads every time.
Ratchet Parts and Open Position
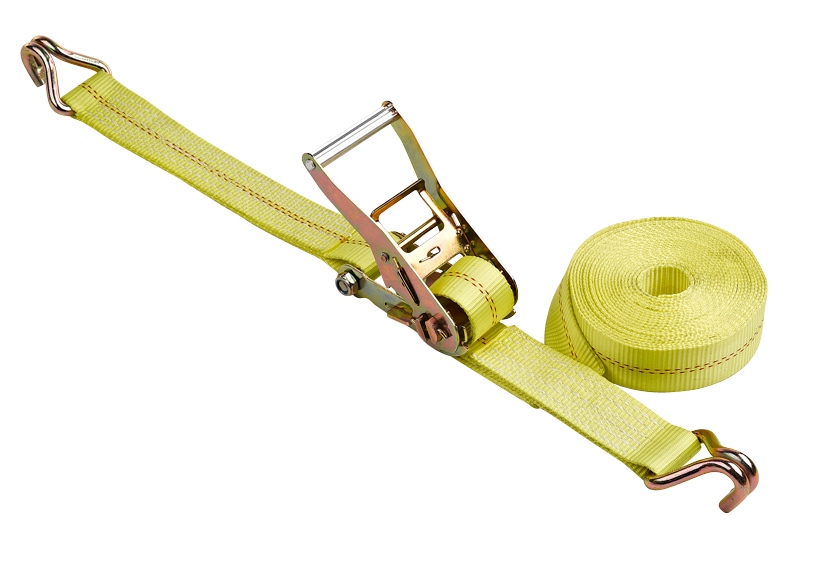
Identify Handle, Spool, and Release Lever
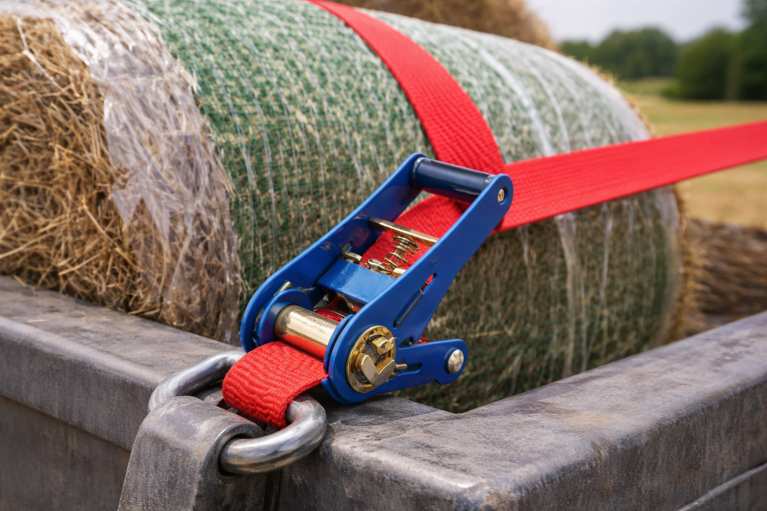
A ratchet strap has four main parts. The handle is the moving arm that a person pumps up and down. The spool is the rotating spool that collects the webbing. The release lever is the flat tab that disengages the pawl. The pawl is the small tooth that locks the gear in place. Each part works together to hold cargo tight.
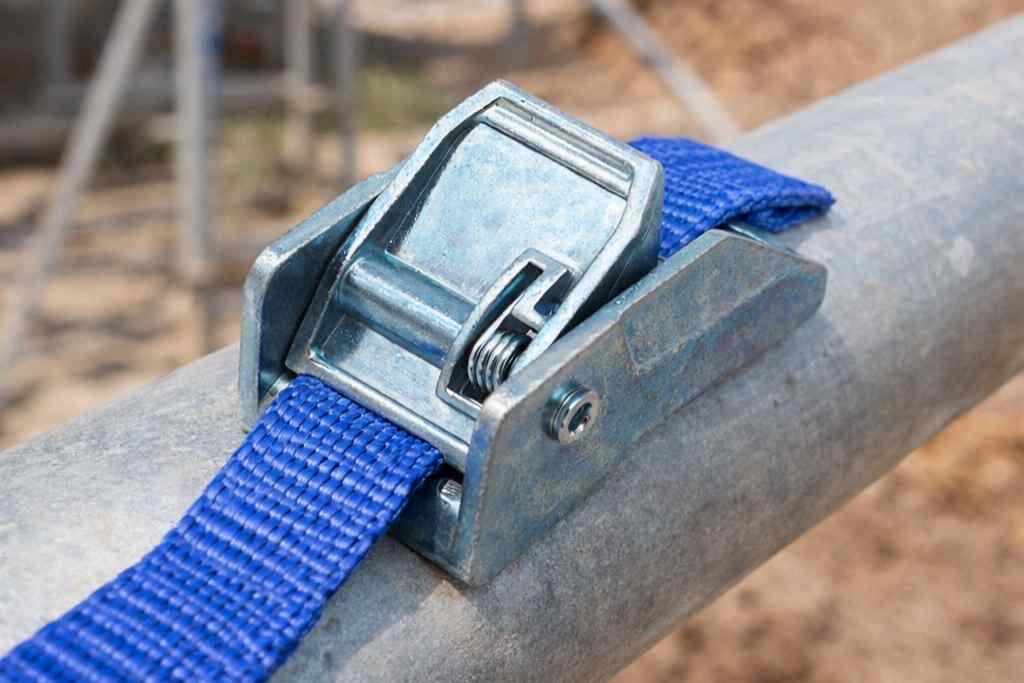
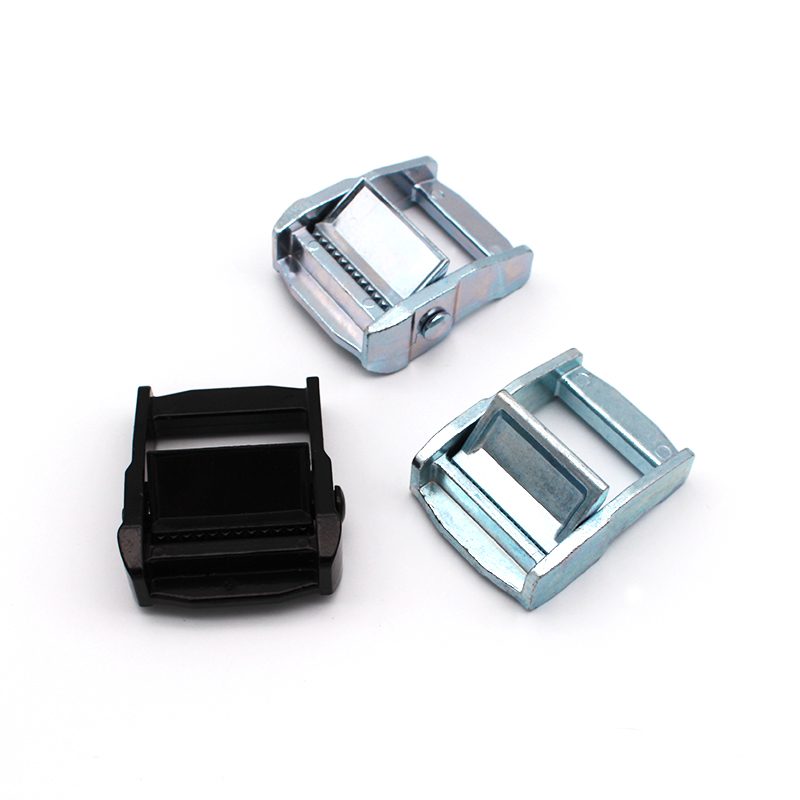
A manufacturer builds these parts from sturdy metal. The handle connects to the ratchet mechanism through a pivot point. The spool sits on a central mandrel that allows it to spin freely. The release catch sits near the handle and controls the pawl. A supplier designs these components for repeated use. BAOYING, for example, uses zinc anti-corrosion coated ratchet buckles. This coating keeps the pawl and spring moving smoothly. Smooth movement matters for repeated threading and rethreading.
Set the Ratchet to Open
The ratchet must sit in the open position before threading. A user opens the ratchet fully by extending the handle away from the spool. This action separates the pawl from the gear teeth. The spool then spins without resistance. Webbing passes through the open slot in the ratchet mechanism with ease.
A common mistake involves skipping this step. A closed ratchet blocks the webbing and causes jams. To open the ratchet completely flat, a person pushes the handle down until it rests against the frame. The release tab must stay clear during this process. Once open, the strap feeds through without force. This simple preparation saves time and prevents damage to the webbing or hardware.
Threading a Ratchet Strap Through the Spool
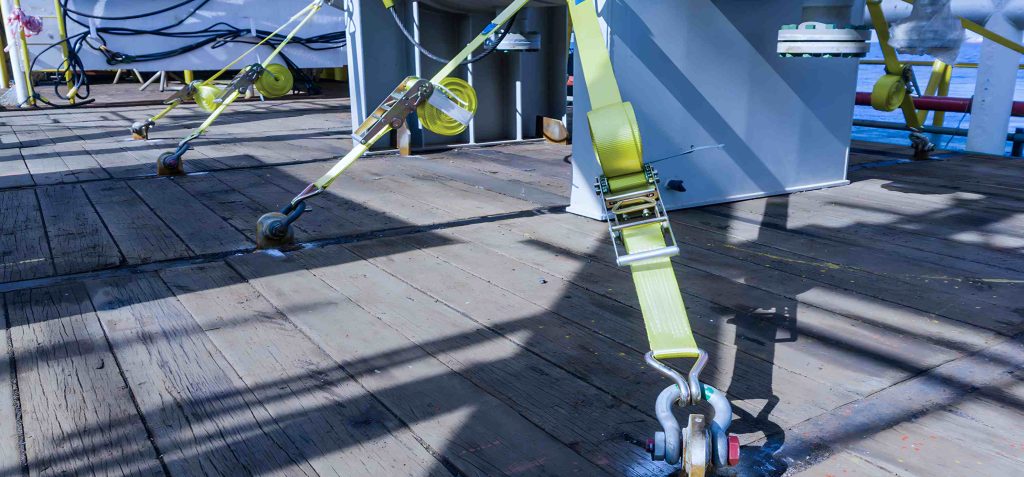
With the ratchet fully open, the webbing moves through the hardware without resistance. A user must align the webbing carefully to prevent twists. A manufacturer designs the take-up spool to accept webbing from only one direction. Understanding how to thread a ratchet strap correctly saves time and prevents damage. This section explains the threading process step by step.
Feed the Strap Through the Center Slot
The first action requires the opening in the middle of the mandrel. A user feeds the end of the strap up through the bottom of the center slot. The mandrel, also called the center rotating spool, sits inside the ratchet housing. The strap out through the metal axle slot appears on the opposite side of the hardware. A person pulls enough slack through so the strap hangs free below the spool. This slack provides room for the next movement. The user must thread the strap straight through without angling the webbing.
Threading a ratchet strap requires attention to webbing direction. The strap must stay flat and untwisted throughout this step. A wholesale supplier such as BAOYING manufactures high-tenacity polyester webbing that resists stretching. This material holds its shape well. Correct alignment becomes easier to verify with quality webbing. The factory tests each batch to maintain consistent performance. A distributor can trust the webbing for repeated commercial use. The custom ODM process allows buyers to specify webbing length, width, and color for specific applications.
The user holds the strap with both hands. One hand stabilizes the metal hardware. The other hand guides the webbing through the slot. A smooth motion prevents fraying at the edges. The opening in the middle of the mandrel accommodates standard webbing widths. The user confirms the strap passes straight through without binding. A quick visual check prevents problems later. The user must thread the strap through the mandrel each time during initial setup.
Threading ratchet straps is a skill that improves with practice. A new user may struggle at first with alignment. The key is keeping the webbing flat throughout the motion. The high-tenacity polyester from BAOYING resists edge curling. This property makes threading easier for beginners. The webbing slides smoothly through the slot without snagging. The middle of the mandrel accepts the webbing from underneath for proper engagement.
Pull Slack and Feed Over the Top
After the strap passes through the mandrel, the user pulls additional slack. This slack enables the next movement. The user then feeds the strap back over the top of the ratchet mechanism. The webbing must remain flat during this motion. A single twist creates uneven tension and causes slipping under load. The ratchet mechanism functions correctly only when the webbing lies flat against the metal surface.
The user feeds the strap back around the mandrel in one complete loop. This loop creates friction that holds the strap in place during tightening. The user checks for full wraps around the mandrel before proceeding. Two full wraps around the mandrel provide enough grip for initial tension. The strap should sit flush without gaps or folds. A third wrap adds extra security for heavy loads.
How to thread a ratchet strap becomes clear with each repetition. The correct path requires the webbing to exit over the top, not the bottom. A common mistake involves feeding the webbing in the wrong direction. The user can verify alignment by pulling the strap taut. The webbing should lie flat across the spool surface. The end of the strap points away from the operator for easy access. A quick tug confirms the webbing holds firmly.
A crew member can thread a ratchet strap quickly with practice. The process becomes second nature after a few repetitions. The user confirms the webbing path by sight. The strap runs from the anchor point through the mandrel and back over the top. The user can thread the strap in seconds after learning the pattern. Each step builds on the previous one for a secure connection. Threading a ratchet strap correctly prevents cargo shifting during transport. The user then moves to the ratcheting phase with confidence.
Tighten and Release Safely
Ratcheting to Lock the Handle
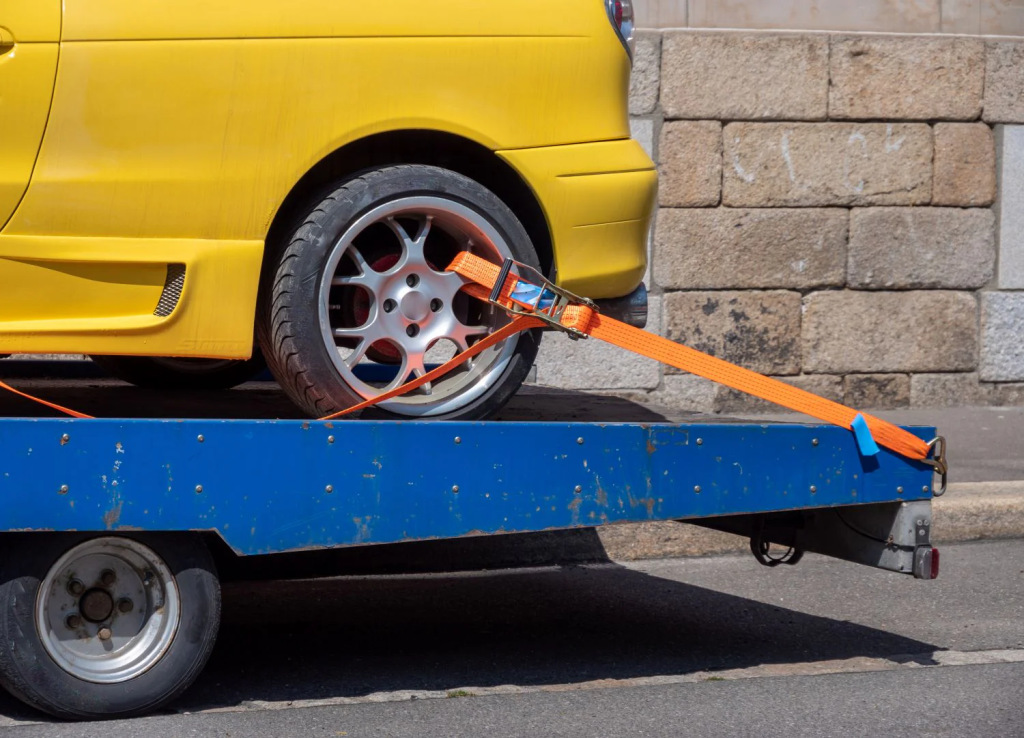
The ratcheting motion starts once the webbing lies flat through the spool. A person pulls the handle up and pushes it down again and again. Each pull turns the spool and takes up slack. The pawl grabs a new gear tooth with every cycle. The number of teeth decides how much swing arc is needed for full engagement. A 72-tooth ratchet needs only a 5° swing arc per click. A 90-tooth ratchet needs an even smaller 4° swing. Fine-tooth designs, which range from 72 to 160 teeth, allow a minimum swing arc between 3.6° and 5°. These small angles let a user tension a ratchet strap in tight spaces with short handle movements. Coarse-tooth designs with 20 to 45 teeth need 8° to 15° per click. A manufacturer balances tooth count with strength for heavy loads. The factory builds these mechanisms for repeated commercial use.
The operator keeps pumping until the webbing feels firm against the load. The rule is simple: stop when the strap is snug, not tight enough to crush the cargo. Over-tightening damages the load and stresses the hardware. A manufacturer like BAOYING uses zinc anti-corrosion coated ratchet buckles. This coating keeps the pawl and spring moving smoothly through thousands of cycles. A smooth mechanism ensures consistent tooth engagement every time. The user should check the webbing for flatness during ratcheting. A twist at this stage causes slipping later. Proper tension holds the load secure for long-distance transport.
Lift the Release Lever to Loosen
Releasing a ratchet strap takes a deliberate action. The user finds the release lever on the ratchet mechanism. Lifting or pushing this lever disengages the pawl from the gear teeth. The spool then spins freely, and the webbing unwinds without resistance. A person must keep hands clear of the spool and pawl during release. Stored tension can snap the handle back with considerable force. The user pulls the strap out of the spool slot after full release.
The release catch serves as the key component for disengagement. Pushing this catch to the side lets the handle fold flat against the frame. A second release catch on the lever side provides additional control. The user must check both release tabs before loosening a tight strap. The release tab on the handle prevents accidental engagement during transport. Proper use of the release catch ensures safe operation every time. A quick lift of the release lever frees the webbing completely. The user can then store the strap or adjust the connection for a different load.
Common Mistakes and Fixes
Twisted Webbing and Wrong Threading
A common mistake is threading the ratchet strap through the spool the wrong way. The webbing needs to go up through the center of the mandrel and then over the top of the mechanism. If a user feeds the webbing over the bottom instead, the ratchet cannot grip the strap correctly. The webbing slips under load and creates uneven tension on the cargo. Another common mistake is leaving a twist in the webbing while threading. One twist makes a weak spot that can break under stress. To fix this, the user must take the end of the strap out and rethread the webbing flat against the spool. The end of the strap has to go straight through the slot without turning. A visual check makes sure the webbing sits flush against the metal surface. After rethreading, the user should double over the end of the strap to stop pull-back during ratcheting. This easy trick locks the webbing in place and stops future slipping. Straight, twist-free feeding gives reliable performance on every load.
Jams, Slipping, and Spring Reassembly
Tightening a ratchet buckle too much often causes a jam. The mechanism locks up and will not turn. The user has to lift the release catch to free the pawl from the gear teeth. A slow, steady pull on the release catch lets the stored tension unwind safely. The user keeps one hand on the handle during this step. The release tab on the ratchet mechanism gives extra control when loosening a stuck strap. Pushing the release tab all the way open clears the pawl from the gear track completely. For a fully taken-apart ratchet, the user puts the spring back into the reverse mechanism. Then the user secures the cap over the spring and lines up the teeth on top of the cap before putting the handle back together. The assembly order decides how well it works. Two ratchet straps can join together by threading one ratchet strap through the ratchet of the other. The connection must stay secure and rated for the total load. A manufacturer like BAOYING makes tie down straps with a working load limit from 500 to 10,000 lbs. Each strap is tested to ISO 9001, CE, and GS standards. Matching the strap rating to the cargo weight stops most mechanical failures before they happen. A wholesale buyer can trust these ratings for repeated commercial use.
The full sequence is simple. Open the ratchet, thread the webbing through the spool slot, pull the slack through, feed the strap over the top, ratchet the handle to lock it, and lift the lever to release. Two safety reminders matter most. Never over-tighten the strap, and always keep the webbing flat and aligned. A quick test with light tension builds confidence before trusting the ratchet strap on a real load. With a little practice, anyone can rethread a ratchet strap in minutes. This skill is now in hand.
FAQ
Which way does the webbing go through the ratchet?
The webbing goes up through the bottom of the center slot in the spool, then back over the top of the ratchet mechanism. A user who feeds it the other way gets slipping and uneven tension. Keeping the strap flat prevents twists.
How tight should a ratchet strap be?
A user stops when the strap feels snug and the load stays secure. Over-tightening crushes cargo and jams the ratchet. A manufacturer like BAOYING rates tie down straps from 500 to 10,000 lbs WLL, so matching the rating to the load matters more than raw force.
Why does the ratchet handle snap back during release?
Stored tension in the webbing releases all at once when the pawl disengages. The handle can swing back hard. A user keeps hands clear of the spool and pawl, lifts the release lever slowly, and controls the handle with one hand.
Can two ratchet straps connect together?
Yes. A user threads one strap through the ratchet of the other. The connection must stay secure and rated for the total load. A wholesale supplier can confirm the working load limit before a buyer joins two straps for a long haul.