A loose ratchet strap turns your trailer load into a liability — cargo can shift, crush adjacent items, or spill onto the roadway. This guide shows you exactly how to lock down a ratchet strap in six steps, from hook attachment to final locking. Before starting, verify that the Working Load Limit (WLL) on the strap’s label is at least double the load weight — EN 12195-2 mandates a 2:1 safety factor between Lashing Capacity (LC) and secured load. Throughout this guide, we reference EN 12195-2 (road vehicles — lashing anchor), WSTDA-T1 (tie-down use), and FMCSA 49 CFR Part 393.10 for North American road transport. [Last updated: 2026-07-10]
- Attach hooks to rated anchor points.
- Open the ratchet handle fully.
- Thread the strap flat through the mandrel.
- Pull to remove slack.
- Tighten by ratcheting the handle.
- Lock the handle in place.
Key Takeaways
- Always thread the strap flat and straight through the mandrel — twisted webbing reduces the strap’s breaking strength by up to 30% and can cause the ratchet to jam under load.
- After tightening, the strap should produce a low-pitched “thrum” when plucked. If it sounds dull or loose, there is still slack. As a practical gauge: if you can slide more than one finger between the strap and the cargo, you have not tightened enough.
- Inspect webbing before every use for cuts, abrasion, or UV damage. If more than 10% of the webbing width is frayed or worn through, the strap must be retired immediately — regardless of age.
- The WLL (Working Load Limit) label on your strap is not a suggestion. Exceeding it means the strap is operating beyond its tested safety factor. For EN 12195-2 compliant straps, the webbing breaking strength is typically 2× the rated lashing capacity (LC).
- Store straps out of direct sunlight. UV radiation breaks down polyester fibers over time, reducing strength by 15-20% within 2 years of consistent outdoor exposure even without visible damage.
- Never use a strap where the identification tag is missing or illegible. Without the tag, you cannot verify the WLL — and under most transport regulations, the strap is considered non-compliant and unsafe for commercial use.
Parts of a Ratchet Tie Down You Need to Recognize First
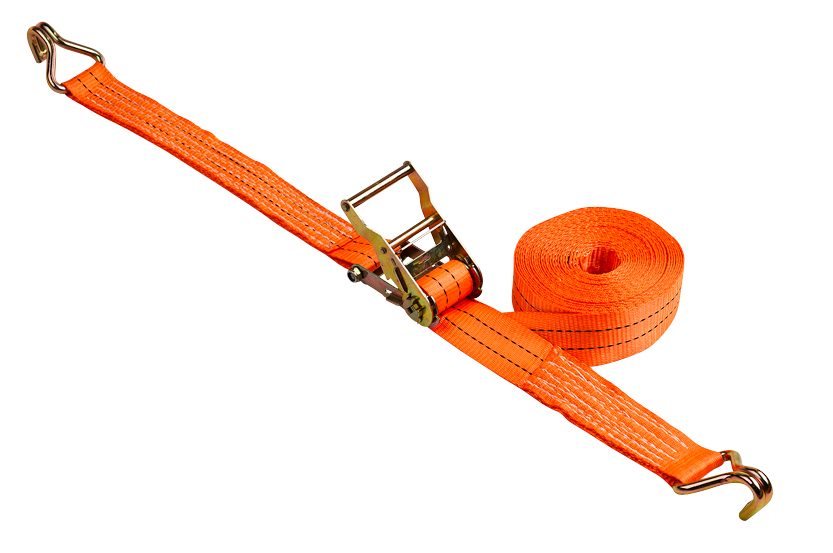
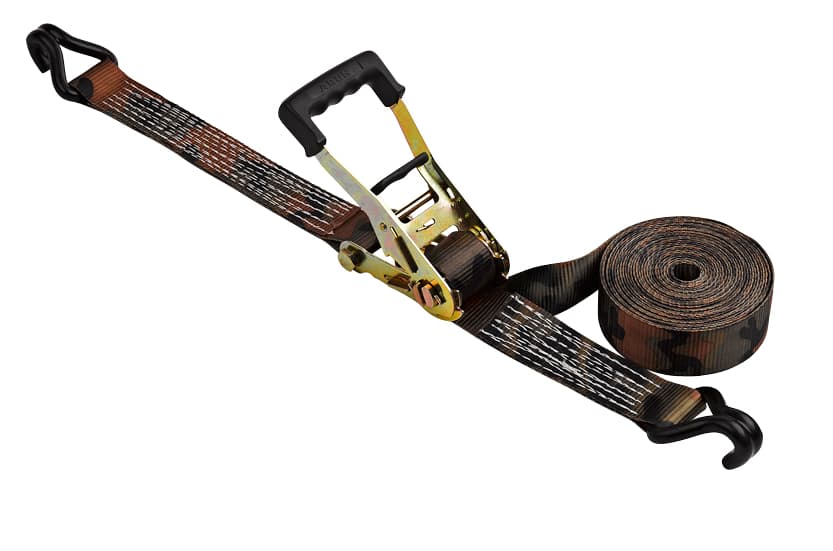
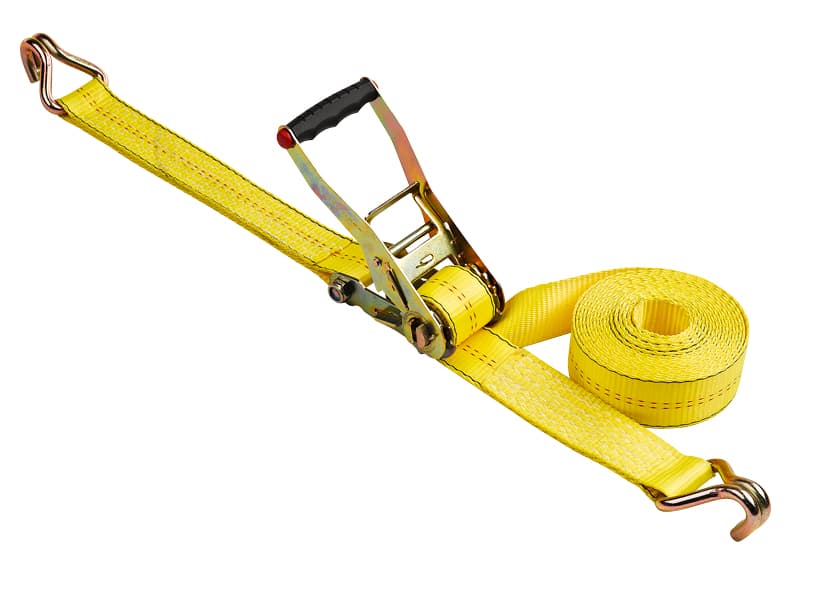
Before you begin threading, it helps to name what you’re looking at. A standard ratchet tie down has five main components:
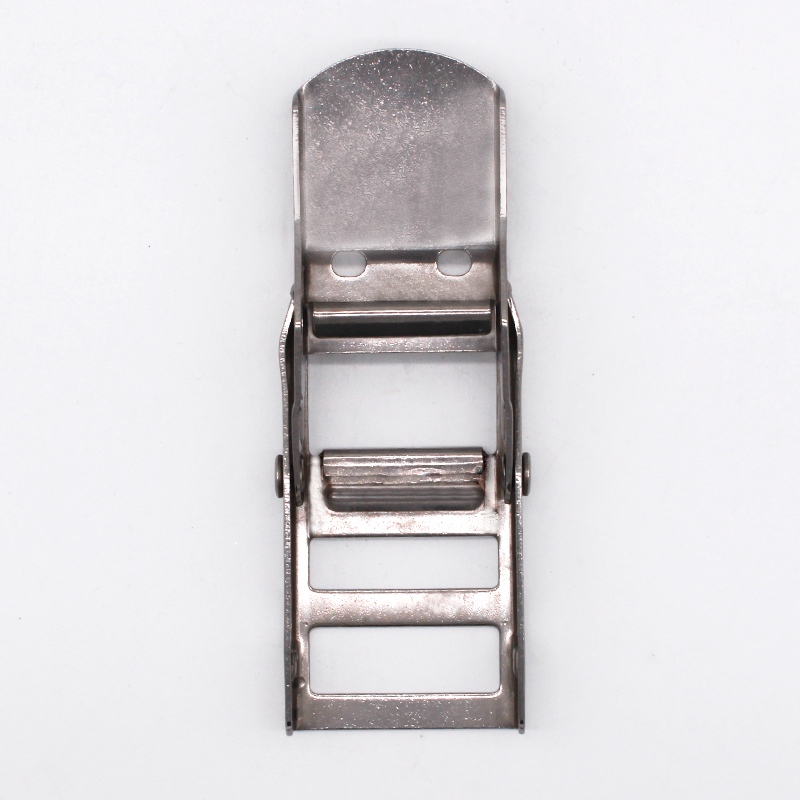
- Ratchet body — the metal frame housing the pawl, release lever, and mandrel. This is the mechanical core.
- Mandrel (axle) — the slotted axle inside the ratchet body. The webbing threads through this slot; each pump of the handle rotates the mandrel to take up tension.
- Ratchet handle — the long lever you pump up and down. Each stroke adds tension to the strap.
- Release lever (pawl release) — a flat tab on the back or side of the ratchet body that disengages the pawl to allow release.
- Webbing and hooks — the polyester strap that carries the load, with hooks (flat / J / chain) at each end.
Understanding these names matters. The most common threading error happens at the mandrel — if you feed the strap wrong, the ratchet will not grip. Knowing which way the slot faces and which way the webbing feeds eliminates this mistake.
Lock down steps
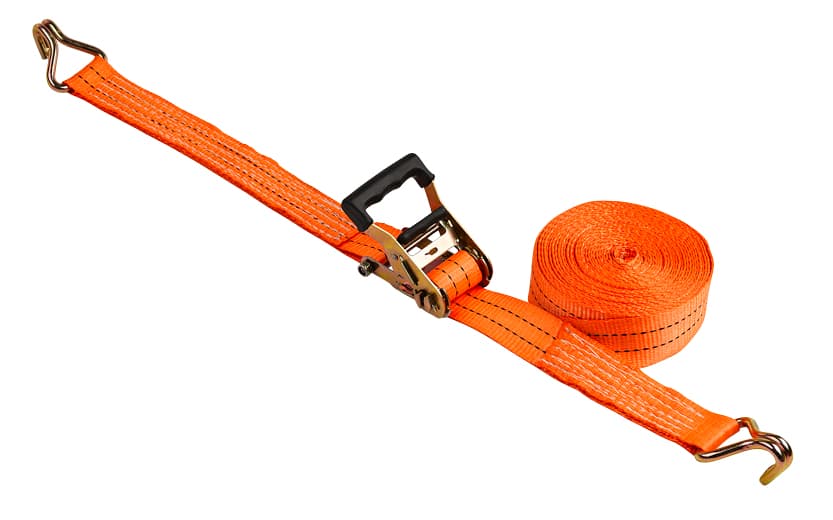
Attach hooks to anchor points
Hook-and-anchor matching is the foundation of a safe cargo restraint system. Using the wrong hook type for your anchor hardware can cause strap detachment under dynamic loads — a leading cause of roadside cargo loss. The table below covers the four most common hook types and which anchor they fit:
| Hook Type | Best For | Typical WLL | Key Feature | ⚠ Don’t Use For |
|---|---|---|---|---|
| Flat Hook | Flatbed stake pockets, E-track rails | Up to 5,000 daN | Wide profile distributes force across flat surfaces | Closed D-rings — hook won’t seat fully |
| J / Wire Hook | D-rings, closed loops, van interior rails | Up to 2,500 daN | Narrow profile fits enclosed anchor points | Stake pockets — too shallow to catch |
| Chain / Claw Hook | Heavy construction, machinery, forged tie-downs | 5,000+ daN | Thick forged steel resists deformation under extreme static loads | Light-duty van anchors — overkill, won’t seat |
| S-Hook | Open anchor rails, quick-attach rings | Up to 2,000 daN | Fast attach/detach; less secure under lateral load | Heavy loads, lateral-force scenarios |
Anchor points must be rated to at least match the strap’s WLL. A bent sheet-metal hole or a random chassis bracket is not an anchor. Per EN 12195-2, anchor points must be structurally integrated into the vehicle frame. If you are unsure about an anchor’s rating, do not use it — choose another point or add a rated tie-down ring.
Open ratchet handle fully
Pull the release lever and crank the handle until it lies flat — past 180 degrees. This exposes the slot on the mandrel (the slotted axle inside the ratchet body). If the slot is not facing upward, pump the handle 2–3 times to rotate it into position. Opening the ratchet fully is the most important pre-threading step: if the handle is not flat when you later release tension, the pawl jams. This is the #1 cause of stuck ratchets in the field.
Thread strap through ratchet
Thread the loose end of the webbing upward through the mandrel slot from underneath — not from above. Feeding from above causes the mandrel to unwind (not tighten) when you pump the handle. Pull about 15 cm (6 inches) through to get a solid grip. Critical: keep the strap flat — no twists. Stress concentrates at a twist point rather than distributing across the full fiber width. A half-twist effectively narrows the load-carrying width and introduces a failure point. Once threaded, pump the handle 2–3 times for light pre-tension — this keeps the strap from slipping out before you apply full tension.
Remove slack from strap
After threading, pull the loose (free) end of the strap firmly to remove all visible slack. Pull until the webbing feels taut against the cargo — you should feel resistance but the strap should not yet be under heavy tension. Any remaining slack acts like a shock absorber in reverse: when the vehicle hits a bump, the cargo has room to move, and that momentum multiplies the force on the strap, potentially exceeding even a correctly rated WLL.
Safety check: Before ratcheting, walk around the load and visually confirm that the strap is centered, flat, and follows the shortest straight path between anchor points. Diagonal or angled strapping wastes tension on friction rather than securing downward force.
Tighten by ratcheting handle
Pump the ratchet handle with smooth, full-range strokes. Watch the webbing wind evenly around the mandrel. Tighten until the strap is snug — not as tight as humanly possible. The finger test: you should be able to fit one finger between strap and cargo. If not, you have overtightened. Over-tightening does not improve security; it stresses the ratchet mechanism, crushes soft/hollow cargo (motorcycle tanks, furniture, cardboard packaging), and can damage load-bearing surfaces.
Mid-trip re-check: Ratchet straps can settle and loosen as the webbing seats and cargo shifts during the first 30–50 km. Stop and check tension after 30 minutes of travel, then again at each fuel stop. If vibration loosens a strap, re-tighten. A strap that repeatedly loosens may indicate a worn pawl spring or insufficient initial tension.
Lock handle to secure strap
Once you reach the desired tension, bring the ratchet handle to a completely closed (flat) position. The ratchet mechanism uses a pawl and gear system — a spring-loaded metal tooth that engages the gear teeth to prevent the strap from loosening. When the handle is fully closed, the pawl is locked against the gear under spring tension, making accidental release nearly impossible even under vibration.
Tuck any excess webbing under the tightened strap or secure it with the built-in strap keeper if your ratchet has one. Loose webbing flapping at highway speeds can fray, tangle, or catch on road debris.
How Many Ratchet Straps Do You Need?
Using too few straps is among the most common cargo securement violations. The minimum number depends on your cargo weight, dimensions, and applicable regulations.
The FMCSA 50% Rule (North America): Under 49 CFR Part 393.110, the aggregate WLL of all tie-downs must equal at least 50% of the cargo weight. Example: for 2,000 kg of cargo, your combined strap WLL must be at least 1,000 kg. If each strap is rated at 500 kg WLL, you need at least two straps. Most professional operators apply a 1:1 safety margin (total WLL = cargo weight).
Practical deployment guide:
- Full-width trailer load → Minimum 4 straps: two forward, two rear. This prevents both fore-aft and lateral shift.
- Single item (motorcycle, ATV, small equipment) → Minimum 2 straps positioned diagonally: one forward-left to rear-right, one forward-right to rear-left. This “X-pattern” creates an anti-rotation restraint.
- Heavy construction / machinery → 4 straps minimum, plus a chain tie-down at each corner if the item exceeds 5,000 kg. Always follow local transport regulations for heavy haulage.
When in doubt, add one more strap. A strap you didn’t need is cheaper than a load you didn’t secure.
How to release the ratchet strap
Releasing a ratchet strap under tension requires a specific sequence. Skipping a step can jam the ratchet or, worse, cause the handle to snap back — a common cause of hand and wrist injuries.
- Relieve pawl pressure first. Lift the ratchet handle slightly (not fully) to take micro-tension off the pawl. Do not force the release lever while the strap is under full tension.
- Open the release lever fully while the handle is slightly raised. You should feel the pawl disengage.
- Open the handle flat — past 180 degrees. The most common mistake is trying to release before the handle is fully open, which jams the pawl-against-gear.
- Pull webbing from the adjustable side to create slack. Allow tension to release gradually — do not let the handle snap open freely under load.
- Unhook both ends.
Safety & maintenance
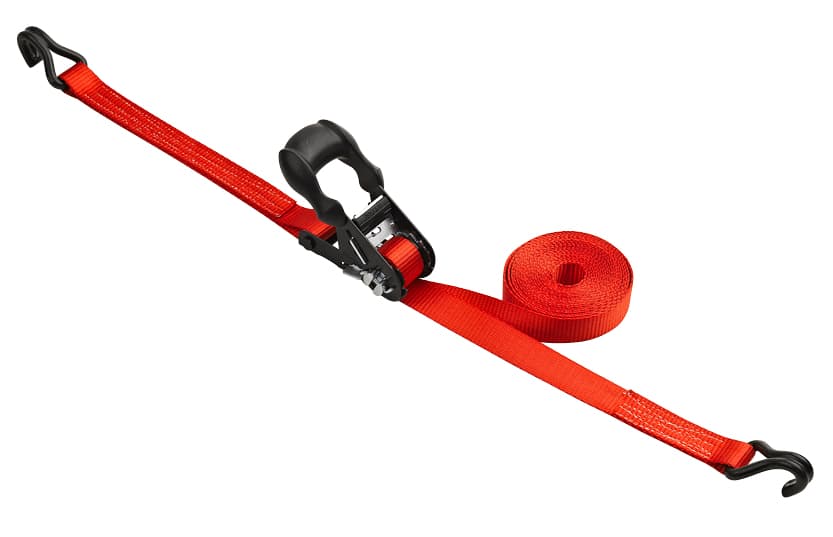
Inspect strap and ratchet
Pre-use inspection is the single most effective way to prevent strap failure. A 30-second check before every journey catches problems that a visual glance at the loaded strap will miss.
| Category | What to Check | Pass / Fail Standard |
|---|---|---|
| ID Tag | Legibility of WLL label | FAIL if: tag missing, unreadable, or WLL value cannot be confirmed. Per EN 12195-2, the strap is non-compliant without a legible label. |
| Webbing | Cuts, abrasion, UV damage, chemical stains | FAIL if: any cut through more than 10% of webbing width; any chemical burn or melted fibers; significant discoloration indicating UV degradation. |
| Stitching | Broken or pulled threads in load-bearing seams | FAIL if: more than 5% of stitches in any seam are broken or pulled. Stitching integrity is the weakest point in a strap assembly. |
| Hardware | Cracks, deformation, corrosion on ratchet/hooks | FAIL if: any visible crack in metal components; hooks deformed beyond 5% of original shape; corrosion that has pitted the metal surface. |
| Function | Smooth ratchet operation, pawl engagement | FAIL if: ratchet sticks or slips; pawl does not engage with a clear click; release latch does not return to locked position. |
Avoid common mistakes
People sometimes make mistakes when using a tie down strap. Here are the most common mistakes:
- Exceeding the WLL: The working load limit printed on the tag is the maximum safe operating load. Exceeding it removes your safety margin — the strap may hold statically but fail under the dynamic forces of braking or cornering.
- Using damaged webbing: Even a small cut concentrates stress and can propagate under tension. Inspect before every use.
- Twisting the strap: A twisted strap is not just harder to tighten — the twist creates a stress point that can reduce breaking strength by up to 30%.
- Skipping edge protection: Sharp corners cut through webbing under tension. Always use rubber corner protectors on loads with edges sharper than a 3mm radius.
- Weak anchor points: If the anchor bends before the strap reaches tension, the entire system fails. Anchor points must match or exceed the strap’s WLL rating.
- Under-tightening or over-tightening: Use the finger test: if you cannot fit one finger between strap and cargo, it’s too tight. If you can fit more than two, it’s too loose.
- Threading backwards: Always feed from underneath — threading from above prevents the mandrel from gripping the webbing properly.
- Leaving excess webbing loose: Secure the tail end. A flapping strap end at 60 mph can fray within minutes.
- Wrong tool for the job: Cam buckle straps are designed for light-duty (<500 daN) loads. Using a ratchet strap where a cam buckle is appropriate adds unnecessary weight and setup time.
- Poor storage: Wet straps develop mildew which weakens fibers permanently. UV exposure degrades polyester at ~15-20% strength loss per 2 years of regular outdoor exposure.
Using a ratchet tie down the right way keeps cargo safe and helps stop accidents during transport.
Maintain strap for longevity
Proper maintenance doubles the service life of a ratchet strap and ensures it performs at its rated WLL every time.
- Clean after each trip: Wipe webbing with a damp cloth and mild soap if it’s been exposed to road salt, dirt, or chemicals. Salt residue accelerates fiber degradation. Allow to air-dry completely — never store a damp strap.
- Lubricate the ratchet mechanism: Apply dry silicone spray (not WD-40 or petroleum-based lubricants) to the moving parts of the ratchet handle assembly. Wet lubricants attract dirt and grit, which accelerates wear. Do not get any lubricant on the webbing — it will bind and attract contaminants.
- Use rubber corner protectors: Sharp edges are the #1 cause of webbing cuts. Inexpensive rubber protectors spread the load at corners and prevent cutting damage.
- Remove webbing from ratchet for storage: Between uses, separate the webbing from the ratchet mechanism to prevent bunching around the spindle and permanent creasing that weakens fibers at fold points.
- Store in a bag out of sunlight: UV light is the silent killer of polyester webbing. Even indoor fluorescent lighting contributes to degradation over years. A simple storage bag or toolbox blocks light and keeps straps organized.
- Retire on schedule: Replace straps every 2-4 years under normal use, or immediately if any inspection point fails. Strap age is not just about visible damage — polyester loses tensile strength gradually even when stored correctly.
| Feature | Description |
|---|---|
| Robust Materials | BAOYING, a trusted manufacturer and supplier, uses durable webbing. |
| Safety Standards | Factory-tested ratchet tie down straps meet ISO 9001, CE, and GS. |
Check and take care of each ratchet tie down often. This helps stop accidents and makes the straps last longer. Keep ratchet tie down straps in a dry place. Clean the hardware so it does not get stuck or rusty.
FAQ
How often should a ratchet strap be replaced?
Inspect before every use. Under EN 12195-2:2010, replace every 2–4 years under normal use even without visible damage — polyester loses tensile strength gradually. Retire immediately if: cuts exceed 10% of webbing width, stitching is broken, hardware is deformed, or the WLL tag is illegible. Daily-use straps in harsh environments (construction, chemical exposure, extreme UV) should be replaced annually.
Can ratchet straps be used for heavy industrial loads?
Yes. For heavy industrial loads (construction equipment, steel coils, machinery), use straps with minimum LC of 2,500 daN and 50 mm webbing width. Verify the combined WLL of all straps meets the load weight + EN 12195-2 safety factor. A standard 5-tonne EN 12195-2 strap has 5,000 kg LC and 7,500 kg breaking strength (2:1 ratio). For loads above 5 tonnes, use chain tie-downs at each corner in addition to ratchet straps.
What is the best way to store ratchet straps?
Separate webbing from the ratchet mechanism for storage to prevent bunching around the spindle. Clean and fully dry straps before storing — damp storage causes mildew that permanently weakens polyester fibers. Keep in a storage bag or toolbox away from direct sunlight; UV radiation degrades polyester at approximately 15-20% strength loss per 2 years of consistent outdoor exposure. Avoid storage near chemicals, solvents, or batteries that emit corrosive fumes. A dedicated E-track storage bag or sealed toolbox is ideal for professional users.